Why I Still Love Drywall
There’s something humble about drywall. It’s not glamorous. It doesn’t sparkle. It’s not even all that interesting to look at when it’s done — just a flat wall, ready for someone else’s paint. But that’s the point. Drywall is the blank canvas of every lived-in room, and getting it right makes all the difference.
I’ve hung Sheetrock in tiny Japanese apartments with walls so crooked they made me dizzy. I’ve installed it in old countryside sheds being converted into tea shops. I’ve done it on scaffolding in freezing wind, with gloves off because I couldn’t feel the screws. You learn things that way — about your tools, your patience, and the material itself.
What Exactly Is Sheetrock, Drywall, or Plasterboard?
Let’s get the terminology out of the way, quick and simple:
- Drywall — the generic name.
- Sheetrock — a popular brand name that became the Kleenex of drywall.
- Plasterboard — what they usually call it outside the U.S.
Whatever you call it, it’s gypsum sandwiched between layers of paper. It’s relatively cheap, easy to cut, and fast to install — and you can finish it smooth enough to look like a single slab of concrete.
The Tools I Actually Use
I’ve seen those fancy drywall kits online. They look nice in theory. But here’s what I really use on the job:
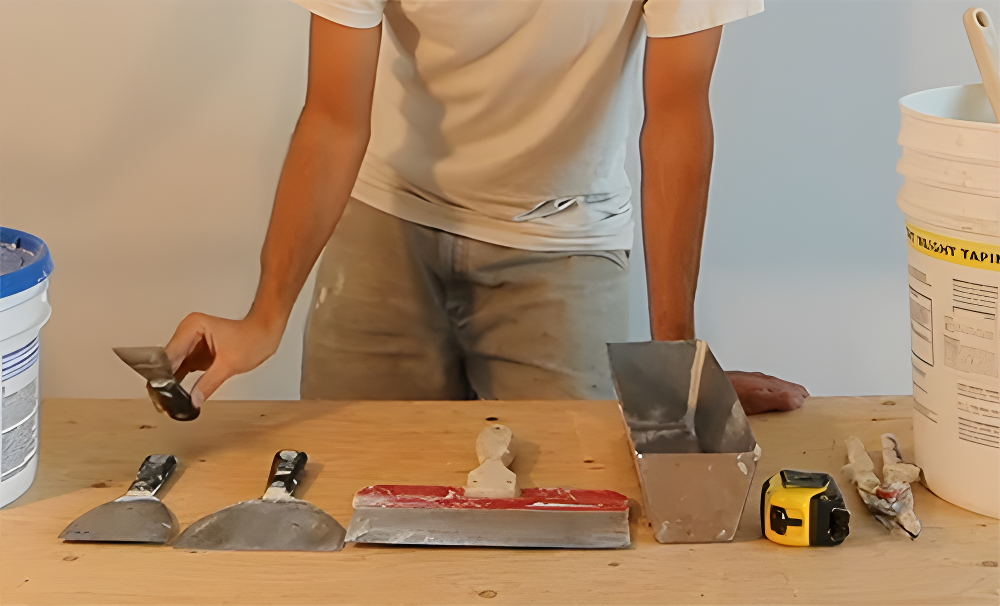
- Utility knife (with snap-off blades — I go through them fast)
- T-square or drywall square
- Drywall rasp (if I’m feeling fancy, otherwise just careful trimming)
- Cordless drill or screw gun with a depth setter
- Taping knife (6″, 10″, and 12″)
- Mud pan (metal, always — plastic’s too flexy)
- Joint compound (I usually mix my own if I need more working time)
And yes — I always wear a respirator when cutting or sanding. I’ve eaten enough gypsum dust in my life.
Step by Step — The Real Way I Hang Drywall
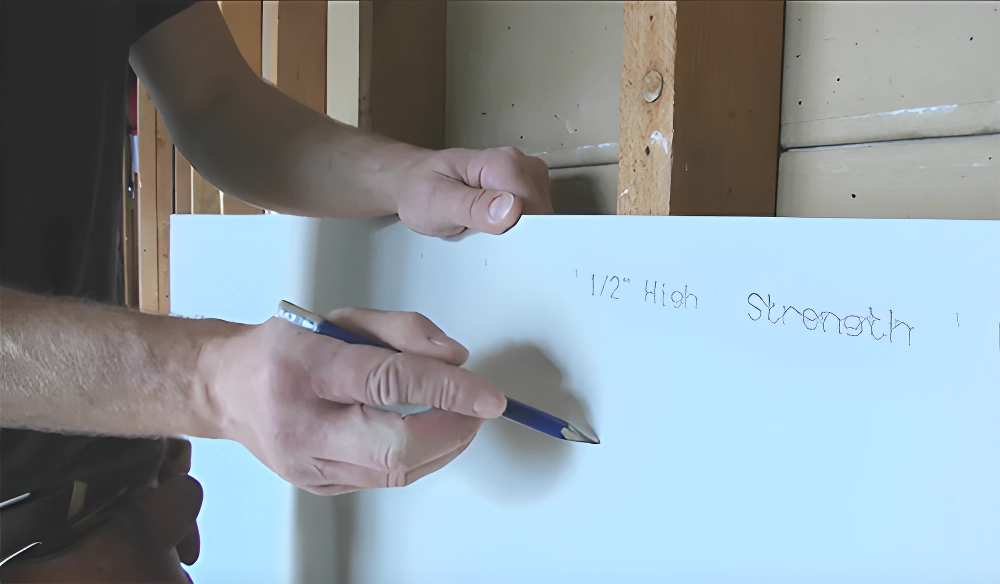
1. Prep the Site Like Your Sanity Depends on It
Before I lift a single sheet, I go over every stud with my pencil, checking for proud nails or uneven framing. If the studs aren’t flush, the drywall’s gonna fight me later. I shave down high spots with a block plane or shim the low ones. Takes 20 minutes. Saves 3 hours of cussing.
2. Measure Twice, Cut Once (and Then Trim It Anyway)
Drywall measurements always look easy on paper. But on site, nothing is ever truly square. I measure each sheet’s height and width, then scribe a cut line with a utility knife. Snap, score, cut the back. If it’s a tight fit, I rasp the edge until it slides in with a “shhhkk” sound — not a “crunch.”
3. Always Start with Ceilings (Gravity Is a Beast)
Ceilings first. Period. I usually work with a helper or use a T-brace if I’m solo. We line up the first board, stagger the seams, and screw into joists every 12 inches. It’s brutal on the shoulders, but that first flush ceiling always sets the tone.
4. Hanging Walls — Horizontal or Vertical?
For 8′ walls, I hang horizontally. Less seams to tape. I make sure the factory edges are together and cut edges are staggered. Every screw goes about 16″ apart, and I always check that they sit just below the paper without tearing it. I can feel the difference by sound and pressure — like tuning a drum.
5. Don’t Rush the Outlets and Openings
I trace boxes with lipstick or a dab of mud, press the sheet into place, and get a perfect outline. Then I cut with a jab saw. If I’m off by more than 1/8″, I redo it. Nothing’s worse than a sloppy outlet hole. Makes the whole job feel cheap.
Taping and Mudding — Where the Real Art Begins
Once everything’s up, I tape with paper tape and all-purpose joint compound. The first coat’s about embedding — not beauty. I feather out the edges with a 6″ knife. Let it dry overnight, then I scrape and hit it again with a 10″ knife. Third coat goes wide with a 12″. If I can see seams under grazing light, I skim again.
I once did a patch job in a Kyoto ryokan where the owner said, “I want it to look like it was never touched.” I spent two days just blending the texture to match 20-year-old plaster. That’s when I learned: good drywall finishing is part craftsmanship, part meditation.
Tips I Learned the Hard Way
- Wear gloves when handling raw sheets — gypsum slices skin like tofu.
- Cut slightly undersized. It’s easier to fill a 1/8″ gap than crush a too-tight sheet.
- Never, ever screw into the edge of a sheet — it will crumble.
- Always stagger seams — especially between top and bottom courses on a wall.
- Use hot mud (setting compound) if you’re in a hurry, but know your working time.
Walls You Can Trust
Drywall isn’t glamorous. But when you do it right, it disappears — and that’s the beauty. Behind every clean corner and flush baseboard is someone who took the time to shim a stud or feather a seam just right. I don’t need credit. But I do need it to be solid.
If you’re doing this for the first time, go slow. Cut straight. Listen to the sound your knife makes. Feel how the screw seats. You’ll mess up — that’s fine. You’ll learn. And someday you’ll stand in front of a wall you made, thinking: yeah, this one’s mine.


