What Broke My First Bit
It was a 2 mm twist bit, fresh from a convenience store blister pack. I’d just started working on a metal bracket repair, and there it went — snap. No warning. Just too much pressure and a crooked hand.
Looking back, it wasn’t the bit that failed. It was me — all thumbs and no patience. That small moment sent me down a path of quiet observation and slow improvement. This article is a bundle of those thoughts. Hard-earned, but easy to follow.
Breaking a tool too early doesn’t mean it’s cheap — it means something in the process wasn’t right.
Thin Bits and the Stress Game
The smaller the diameter, the greater the danger. Bits under 3 mm are not forgiving. They’re like dry twigs — bend them slightly off axis and they’ll snap without a sound. The culprit is usually side-loading: when you push the bit in at an angle, or try to steer it mid-drill.
Even wood can be unkind to these little tools, but metal is merciless. If you’re using a handheld drill, the flex in your wrist or slight misalignment at the start can turn into a fracture by the second second.
Avoid sudden corrections. Start slowly. Make sure the point of contact is stable and centered. Your hand, eye, and the bit must all speak the same language: straight.
Drill bits aren’t steering wheels. They don’t turn corners. They snap at them.
Heat: The Silent Killer
Steel doesn’t complain out loud — it just glows, dulls, and dies. When you drill too fast, or let shavings clog the flutes, you’re baking your bit in its own waste heat. I’ve ruined more bits this way than I’d like to admit.
The signs are easy to miss. A little smoke, a whining sound, a darker tip. But the damage is done deep in the grain of the metal. Microfractures begin. Sharpness fades. Precision turns to wobble.
The fix? Back out often. Clear the chips. If you’re drilling anything harder than pine, you’re playing with heat — and heat always wins unless you plan for it.
Oil is Not Optional
When drilling through steel, brass, or any metal that’s stubborn, I always keep a little can of engine oil nearby. Doesn’t have to be fancy. Just clean. I dip the tip, drill, back out, repeat. It’s boring — and that’s why it works.
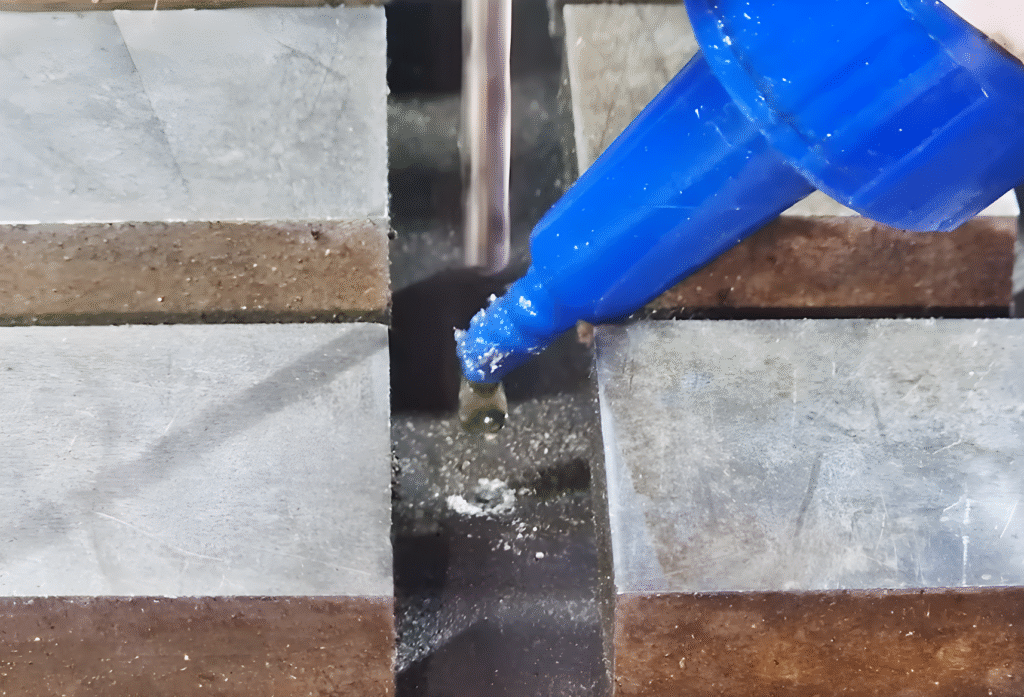
Lubrication cuts down friction, and friction is where heat begins. Oil also acts as a physical buffer, keeping the bit from seizing or getting stuck mid-hole. That binding moment — when the bit jerks or halts — is when most breakage occurs.
No oil? Use wax. Or spit. Anything is better than dry contact on hot steel.
A drop of oil now saves a tool later.
Straight Lines, Not Bent Rules
Here’s where body mechanics matter. When you press on the drill, where is your weight going? If it’s flowing from your shoulder to the bit, you’re fine. But if you’re bending at the wrist or holding the drill like a garden hose — expect trouble.
A common mistake is applying pressure from the handle. That force travels crookedly through the housing and torques the bit. Instead, align yourself so that your arm is behind the drill head, not the handle. Let your chest follow the line of pressure. Don’t let your elbow do all the work.
If you feel resistance increasing — stop. It may mean the bit is binding. Forcing through that is how bits break. Let the bit cut, don’t shove it.
Watch the Shavings
There’s a language to the material coming out of the hole. Long curls mean your bit is sharp and cutting clean. Dust or tiny crumbs? You’re rubbing more than cutting. Time to resharpen or reduce the speed.
Paying attention to these signals makes you better over time. I’ve learned more from watching metal come out of holes than I have from any instruction manual.
Don’t just look at the hole. Watch what’s coming out of it.
Sharpening and Storage
A dull bit is dangerous. It requires more pressure, which means more bending force, more heat, and more chances for breakage. I keep a small bench grinder nearby, and even the cheapest bits I own last longer now.

But sharpening is only part of it. Storage matters. I made my own drill bit stand out of scrap wood. Each bit has its place, labeled, upright, clean. When you treat your tools like they matter, they respond in kind.
Respect doesn’t cost anything, but neglect always does.
The Role of Speed and Feed
There’s no universal setting for how fast to drill — it depends on the bit size and the material. A good rule: the harder the material, the slower the speed. The larger the bit, the slower the RPM. You want control, not friction.
If you’re using a handheld drill, start at the lowest setting. Let the bit establish a center. Then increase speed slowly as it begins to bite.
For soft materials like pine, speed isn’t a big issue. But for steel, speed without feed — i.e., applying too little pressure — will just polish the surface and generate heat.
Match your speed with steady pressure. Listen. The bit will tell you what it likes.
In My Toolkit
Here’s what I keep handy when drilling:
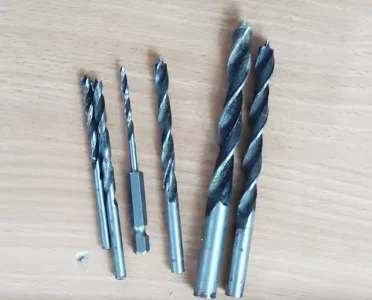
- A range of twist bits from 1 mm to 10 mm
- Engine oil in a recycled soy sauce bottle
- Old toothbrush for clearing flutes
- DIY bit stand, made from hardwood offcuts
- Handheld magnifier to inspect edges
Each of these things adds a layer of care to the process. None of it is fancy. All of it makes the job smoother, and the tools last longer.
A Little More Than Just a Hole
Drilling isn’t just about putting holes in things. It’s about precision, timing, rhythm — and knowing what the material wants from you. The more you practice, the more you notice when something is off. A sound, a vibration, a change in shavings.

That’s the part no one tells you. Mastery isn’t about having better tools. It’s about listening better.
If you’ve broken bits before, don’t feel bad. Most of us did. Just take a little more time next time. Your tools will thank you.
The goal isn’t just to avoid breaking a bit — it’s to understand why they break, and never make the same mistake twice.
Sources: